

How to Prepare Your Quilt for Longarm Quilting (Step-by-Step Guide)
Proper preparation is one of the most important steps in achieving a smooth, professional longarm quilting finish.
Taking time to prepare your quilt top, backing, and batting correctly helps ensure balanced tension, even stitch regulation, and efficient turnaround.
If you're planning professional
longarm quilting in Meridian, use the checklist below to make sure your quilt is ready for loading on the longarm frame.
Step 1: Press & Inspect Your Quilt Top
Before drop-off, thoroughly press your quilt top so it lies flat. Wrinkles, folds, or bulky seams can affect stitch quality and tension balance during quilting.
Check for:
- Loose or open seams
- Unsecured borders
- Bulky seam intersections
- Visible loose threads on the front and back
Trim stray threads to prevent shadowing through light fabrics. Make sure borders are straight and the quilt top is reasonably square. A quilt that lies flat loads more evenly on the frame and produces a smoother finished result.
Step 2: Make Sure Your Backing Is Large Enough
One of the most common questions is:
How much bigger should backing be for longarm quilting?
Backing must extend 4–6 inches beyond the quilt top on all sides. This extra fabric allows the quilt to be properly secured to the longarm frame for even tension and stitch regulation.
For example:
If your quilt top measures 60” x 70”, your backing should measure at least 68” x 78” (or larger).
Additional backing tips:
- Remove selvage edges before piecing
- Press backing seams open
- Ensure the backing is square
- Avoid excessive fullness or puckers
Backing that is too small cannot be loaded correctly and may delay your project.
Step 3: Batting Guidelines
Batting should be at least the same size as your backing (extending 4–6 inches beyond the quilt top on all sides).
Ensure batting:
- Is free of folds or creases
- Is stored flat or loosely rolled
- Matches your quilt’s intended use (lightweight, warm, cotton, blend, etc.)
If you prefer, batting options are available through the studio and can be reviewed here:
View longarm quilting pricing & batting options
Proper batting sizing ensures even stitch formation and prevents tension inconsistencies during quilting.
Step 4: Consider Design & Thread Selection
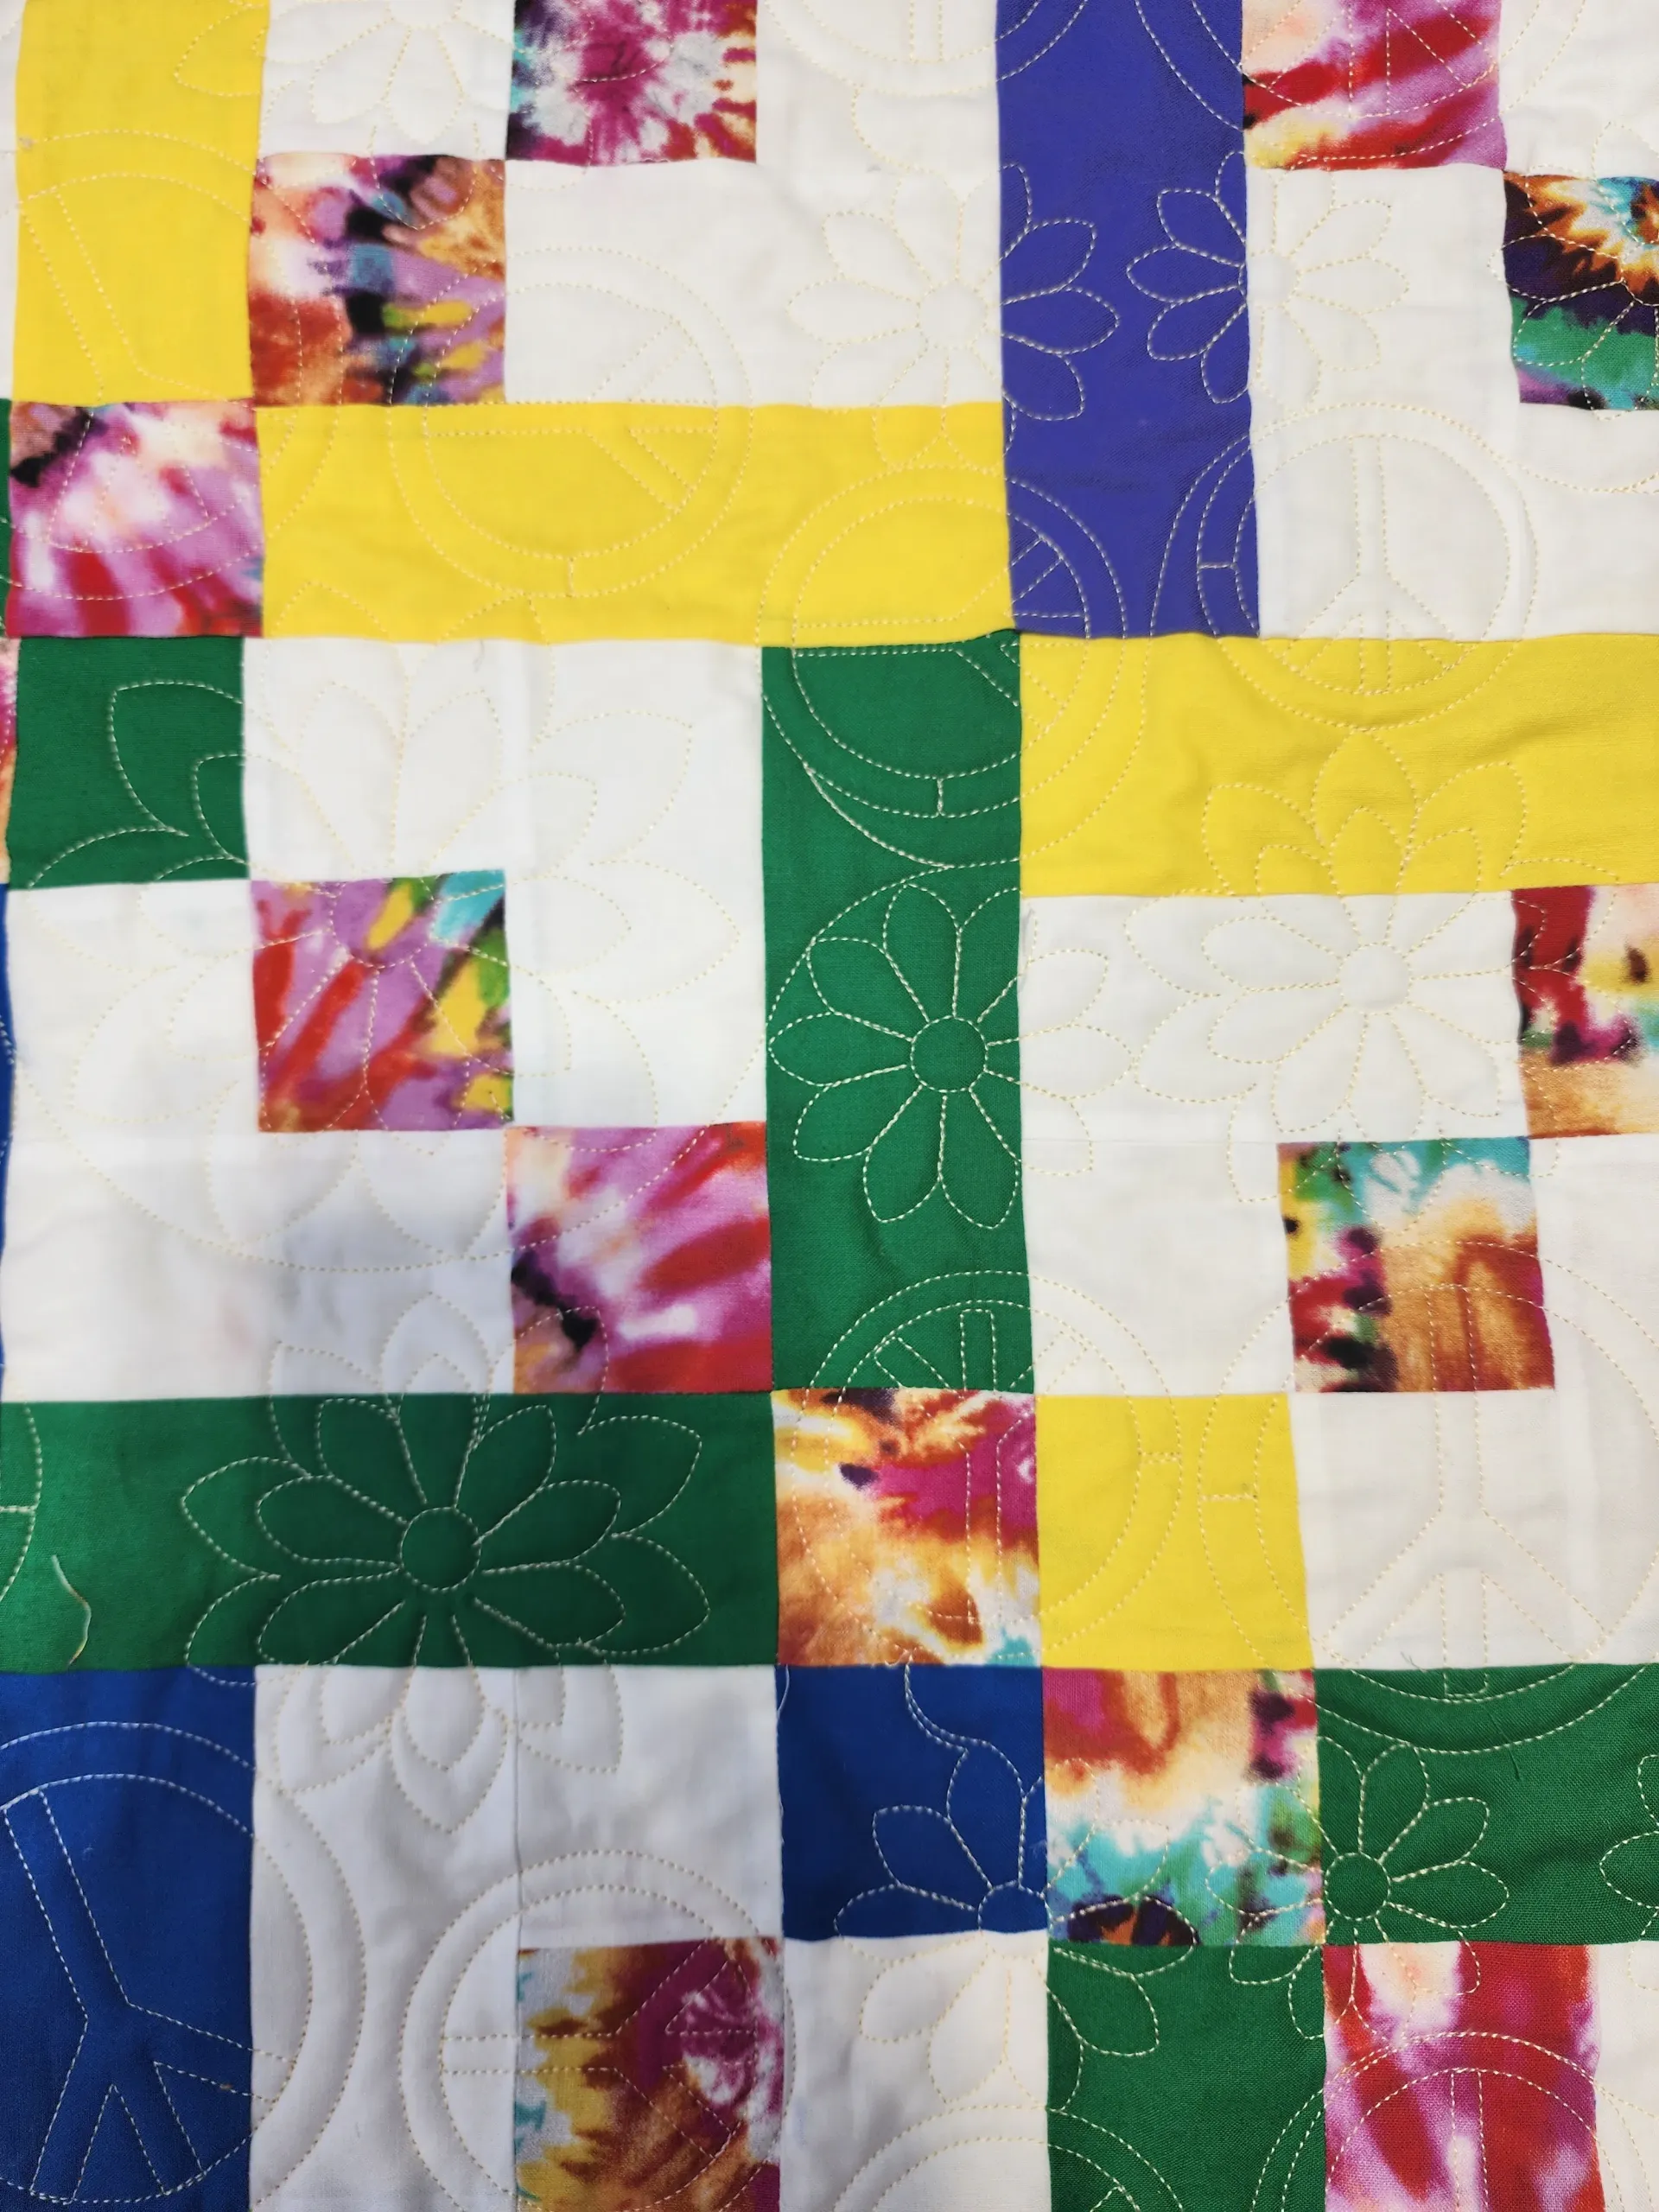
If choosing edge-to-edge quilting, consider how your pattern complements the quilt top. Edge-to-edge quilting provides consistent texture and a professional finish across the entire surface.
Before your appointment:
- Have a general idea of pattern style (floral, geometric, swirls, modern, etc.)
- Consider thread color (blending vs. contrast)
- Decide if you prefer subtle texture or more visible quilting
You can review design inspiration here:
Explore longarm quilting patterns
The quilting design, thread choice, and stitch density all influence the final look and durability of your quilt.
Step 5: Remove Pins & Secure All Seams
Before drop-off:
- Remove all pins
- Ensure seams are stitched securely
- Reinforce any weak areas
Pins left in the quilt can damage equipment and delay loading. Secure seams help prevent shifting or puckering once quilting begins.
Common Mistakes to Avoid
Avoid these common preparation issues:
- Backing too small
- Borders not square
- Loose threads left untrimmed
- Excess fullness in backing
- Pins left in place
- Uneven seam allowances
Proper preparation allows the quilt to load evenly on the longarm frame, which supports consistent stitch regulation and balanced tension across the entire surface.
Quick Drop-Off Checklist
Before your appointment, confirm:
✔ Quilt top pressed flat
✔ Loose threads trimmed
✔ Seams secured
✔ Pins removed
✔ Backing 4–6 inches larger on all sides
✔ Batting sized correctly
✔ Pattern preference in mind
Following this checklist helps keep projects on schedule and supports the typical 1–2 week turnaround for edge-to-edge quilting.
Scheduling Your Appointment
Brown Bear Quilting Services LLC operates as a home-based studio in Meridian, Idaho (not a retail storefront).
Appointments are required for drop-off and consultations to ensure focused scheduling and efficient turnaround.
Most longarm quilting projects are completed within 1–2 weeks, depending on quilt size and design selection.
When you're ready to schedule:
Preparing your quilt properly ensures a smoother process, balanced stitch regulation, and a professional finished result.
If you have questions about sizing, backing, or preparation, reach out before your appointment — clear preparation leads to better quilting.